Screenshot your iPhone from a compact Mac app or the menu bar.
USB or Wi-Fi · pixel-perfect captures · saved to a folder you choose · copied to your clipboard.






Website · Homebrew · npm · Install · Docs · Support
brew install --cask aopv/tap/tethershot
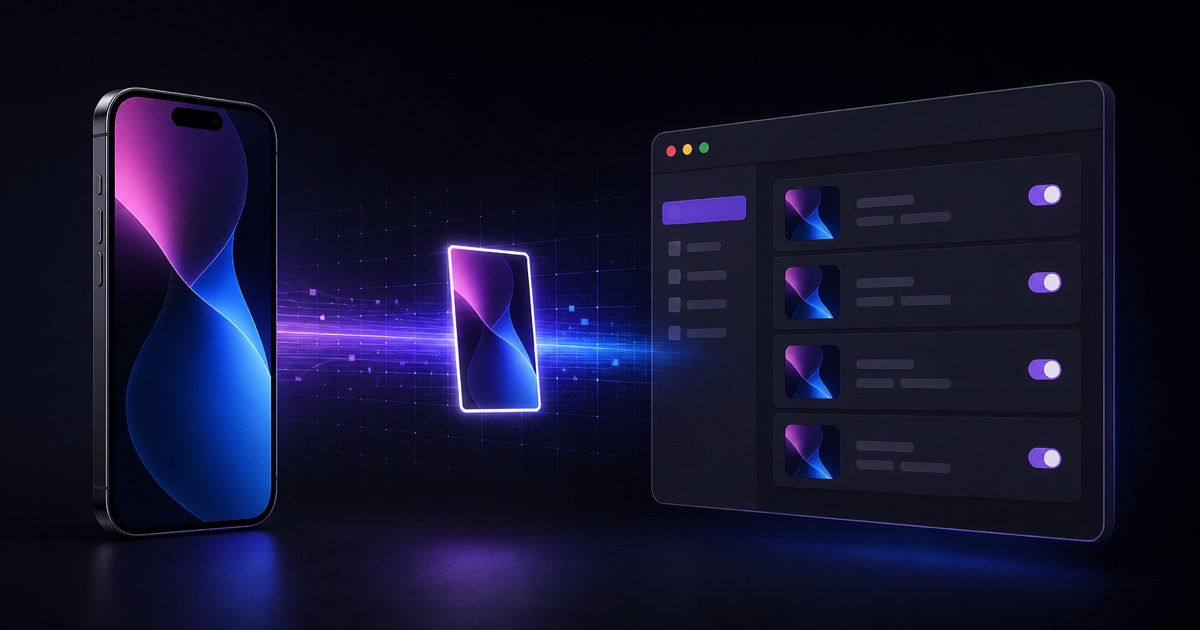
Status — shipping. USB + Wi-Fi capture, clipboard, global hotkey, per-device folders, Homebrew and npm installs, and in-app self-update are all working. Built and tested on macOS 26 (Tahoe) with iOS 26.
macOS already lets QuickTime/OBS mirror a tethered iPhone's screen (it appears as an AVCaptureDevice of media type .muxed). TetherShot wraps that into a one-click menu-bar capture that writes straight to disk and your clipboard — and adds cable-free Wi-Fi capture through Apple's developer-services tunnel. It's the iPhone screenshot tool Apple never shipped.
- 🔌 USB capture — a trusted, cabled iPhone is grabbed at full resolution via native AVFoundation. Instant, zero setup.
- 📶 Wi-Fi capture — cable-free over your local network via a RemoteXPC tunnel (
pymobiledevice3). Pixel-perfect, even when the phone is locked. - 📋 Clipboard — every capture is copied, ready to paste (toggle on by default).
- ⌨️ Global hotkey — press ⌘⇧7 anywhere to capture every connected device, or choose one preferred iPhone and remember it across launches.
- 🗂️ Your folder, your rules — any destination, timestamped filenames, optional per-device subfolders.
- ⬆️ Self-updating — in-app Check for Updates downloads the signed, notarized GitHub release, verifies it, replaces the current app in place, and relaunches.
- 🪟 Compact Mac app — open it from Applications or Spotlight; closing the window keeps capture running and removes the Dock icon.
- 🍥 Optional menu-bar control — enabled by default for quick capture and settings, and can be hidden persistently.
- 🚀 Launch at login — keeps capture and the global hotkey ready in the background.
- 🔒 Local-first — no account, no analytics, no servers. Screenshots never leave your Mac.
- macOS 14 (Sonoma)+ — developed/tested on macOS 26 (Tahoe)
- Xcode Command Line Tools — only needed to build from source (
xcode-select --install) - Node.js 18+ — only needed for npm installation
- An iPhone you can set to Trust This Computer
- For Wi-Fi: iPhone + Mac on the same network, plus
pymobiledevice3
brew install --cask aopv/tap/tethershotHomebrew downloads the checksum-verified, signed, and notarized universal DMG
and installs TetherShot into /Applications. Future Cask versions follow the
latest stable GitHub Release.
Download the signed, notarized universal DMG from the latest GitHub release, open it, and drag TetherShot into Applications. The same build runs natively on Apple silicon and Intel Macs and becomes the canonical /Applications copy.
npm install -g tethershot # installs the CLI (and builds the app)
tethershot install # ensure the app is built into ~/Applications
tethershot # launch it
This path builds from source on your machine and lands in ~/Applications (no sudo). If a signed /Applications/TetherShot.app already exists, the CLI preserves it instead of replacing its Developer ID signature with a local build.
All installation methods use the same bundle identity and settings. Homebrew and
the DMG install the canonical /Applications copy. If you install either after
using npm, the stale ~/Applications copy is moved to Trash on launch. Future
in-app updates replace that canonical copy in place.
npm 11+ blocks
postinstallscripts by default, so if the app isn't built afternpm install, the explicittethershot installstep always does it.
git clone https://github.com/aopv/TetherShot.git
cd TetherShot
./build.sh # compiles + packages TetherShot.app
open .build/TetherShot.app # launches the app and menu-bar control
On first USB capture, macOS asks for Camera permission — expected: the iPhone screen is delivered through the AVFoundation (camera) privacy bucket. TetherShot never uses your Mac's camera.
Open TetherShot from Applications or Spotlight, or click its menu-bar icon, then pick your phone. The PNG saves to your folder (default ~/Pictures/TetherShot) and copies to your clipboard. Closing the window leaves capture and the global hotkey active in the background; open TetherShot again to bring the window back.
| Option | What it does |
|---|---|
| ⌘⇧7 | Quick-capture the saved preferred iPhone, or every connected device by default |
| Quick Capture Device | Choose one iPhone for the hotkey; the selection persists across launches |
| Copy to Clipboard | Also place each capture on the clipboard (default on) |
| Organize by Device | Save into a per-device subfolder |
| Choose Folder… | Pick any destination; remembered across launches |
| Show in Menu Bar | Keep quick controls in the menu bar (default on) |
| Launch at Login | Keep TetherShot available across reboots |
| Check for Updates | Verify the latest signed GitHub DMG, replace the current app, and relaunch |
Wi-Fi capture uses a root LaunchDaemon (tunneld) that keeps a RemoteXPC tunnel alive so captures need no sudo.
pip3 install -U pymobiledevice3 # the engine
tethershot setup-wifi # installs the tunnel daemon (admin password once)
Then, with the iPhone connected by USB once:
- Enable Developer Mode — Settings ▸ Privacy & Security ▸ Developer Mode
- Enable Wi-Fi reachability —
pymobiledevice3 lockdown wifi-connections --state on
After that you can unplug. While the iPhone and Mac share a Wi-Fi network, the menu shows it as (Wi-Fi) and tunneld discovers it automatically. Remove the daemon with bash scripts/uninstall-tunneld.sh.
Why not AirPlay mirroring? On macOS Tahoe, a mirrored iPhone window blacks out whenever a capture context is active — so TetherShot uses the developer-services path instead, capturing the device's own framebuffer regardless of transport.
tethershot # launch the app
tethershot install # build & install to ~/Applications
tethershot update # update to the latest published version
tethershot setup-wifi # install the Wi-Fi tunnel service
tethershot uninstall # remove the app
tethershot version # print the installed version| Component | Role |
|---|---|
USBCapture | Flips the CoreMediaIO screen-capture flag, finds the iPhone as a .muxed device, grabs one frame → PNG |
WirelessCapture | Talks to the tunneld HTTP API, runs pymobiledevice3 developer dvt screenshot over the Wi-Fi tunnel |
Updater | Checks GitHub Releases, verifies the asset digest and Developer ID signature, then atomically replaces and relaunches the current app |
AppModel | Main-actor state: device list, destination folder, options, status |
MainWindow / MenuContent | Compact SwiftUI app window plus optional MenuBarExtra controls |
TetherShotApp | Window lifecycle: closing hides the Dock presence while background capture stays alive |
Capture backends sit behind a CaptureBackend protocol, so USB and Wi-Fi share one code path. The marketing/docs site lives in /web and deploys to tethershot.apoorvdarshan.com.
Contributions are welcome — see CONTRIBUTING.md for how to build, the project layout, and the PR flow.
Found a vulnerability? Please report it privately — see SECURITY.md.
If TetherShot is useful to you:
- 🚀 Vote on Product Hunt
- ⭐ Star the repo
- ☕ Support on Ko-fi
- 🐦 Follow @apoorvdarshan on X

MIT © 2026 Apoorv Darshan
Not affiliated with Apple Inc. iPhone, macOS, and Apple are trademarks of Apple Inc.