


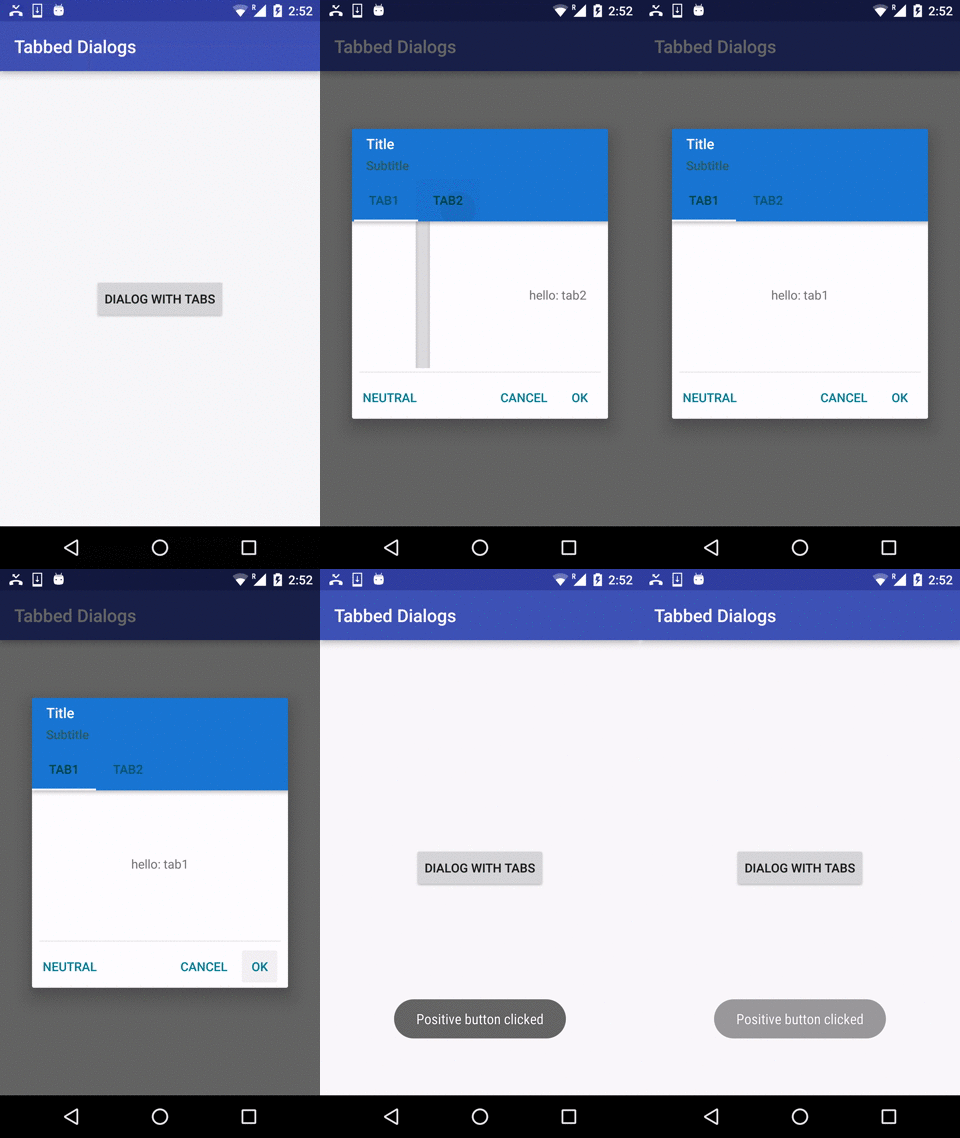
Add jitpack to your project’s repositories.
repositories {
// ...
maven { url "https://jitpack.io" }
}
Then add Tabbed dialog to your Module’s dependencies
dependencies {
compile 'com.github.ashishbhandari:AndroidTabbedDialog:v1.1'
}
TabDialogFragment.createBuilder(MainActivity.this, getSupportFragmentManager())
.setTitle("hello")
.setSubTitle("subtitle")
.setTabButtonText(newCharSequence[]{"Tab1", "Tab2"})
.setPositiveButtonText("Love")
.setNegativeButtonText("Hate")
.setNeutralButtonText("WTF?")
.setRequestCode(REQUEST_SIMPLE_DIALOG)
.show();Simply implement interface ISimpleDialogListener in your Activity/Fragment. Listener's callbacks have requestCode parameter - you can use it if you have more dialogs in one Activity/Fragment.
Simply implement interface IFragmentListener in your Activity/Fragment. Listener's callbacks have:-
onFragmentViewCreated(Fragment fragment)onFragmentAttached(Fragment fragment)onFragmentDetached(Fragment fragment)
@OverridepublicvoidonFragmentViewCreated(Fragmentfragment) {
intselectedTabPosition = fragment.getArguments().getInt(PageFragment.ARG_DAY_INDEX, 0);
ViewrootContainer = fragment.getView().findViewById(R.id.root_container);
Log.i(TAG, "Position: " + selectedTabPosition);
switch (selectedTabPosition) {
case0:
// add view in container for first tabViewtabProductDetailLayout = getLayoutInflater().inflate(R.layout.tab_one_layout, (ViewGroup) rootContainer);
TextViewtextView = (TextView) tabProductDetailLayout.findViewById(R.id.text_view);
textView.setText("hello: tab1");
break;
case1:
// add view in container for second tabViewtabProductDetailLayout2 = getLayoutInflater().inflate(R.layout.tab_one_layout, (ViewGroup) rootContainer);
TextViewtextView1 = (TextView) tabProductDetailLayout2.findViewById(R.id.text_view);
textView1.setText("hello: tab2");
break;
}
}Copyright (c) 2016 Ashish Bhandari
Licensed under the Apache License, Version 2.0