A Python API implemented for AVIS Engine(Autonomous Vehicles Intelligent Simulation Software).
- Switching to ZMQ
- Configuration file
- Configurable Camera settings (FOV, Position, Mode, Bird-eye view, ...)
- Configurable Post Processing (DOF, Bloom, Color Corrections, ...)
- Semantic mode
- Depth Camera
- Radar
- Pub-sub pattern messaging system
- Major API Update
- Updated Image Encoding
- Compressed TCP Packets
- Added Utils.py
- Added Traffic System
- Improved Lights
- Added Config.py
- Higher Resolution camera with better performance
- Adjustable Camera Resolution
- Message Compression Algorithm
- Defined
<EOF>tag in transfered data from simulator to client - Adjustable front sensor angle
- Added KMP Search to find
<EOF>
- Added a New City
- Added Fog
- Improvements
- Added localization and multilingual support. (English, Persian, Russian, France, German, Chinese, Italian, Spanish, Japanese, Korean, Turkish)
- Visual Improvements.
- Performance Improvements.
- Main Menu redesign.
- Added "About this simulator".
- Added "Terms of use".
- Improved Performance.
- Added TopSpeed Slider.
- Added "Right lane Only" Toggle.
- Added "Visible Sensor detection lines" Toggle.
- Added a Slider to set the angle between sensors.
- UI/UX Improvements and Updates on Top Panel for better experience. (Headers in each section)
- Improved lighting
- Replaced the vehicle's 3d model with a low-poly version of it to Improve the performance.
- New method of counting checkpoints and laps. No order-sensitive counting system in this new version.
- New Skyboxes on each map.
- New Terrain map on each map.
- Updated Textures.
- Changed the Tags material contrast to make it easier to read (Urban).
- Added a border to signs and tags (Urban).
- Fixed Raycast hit on the second checkpoint in "Race Track 1"
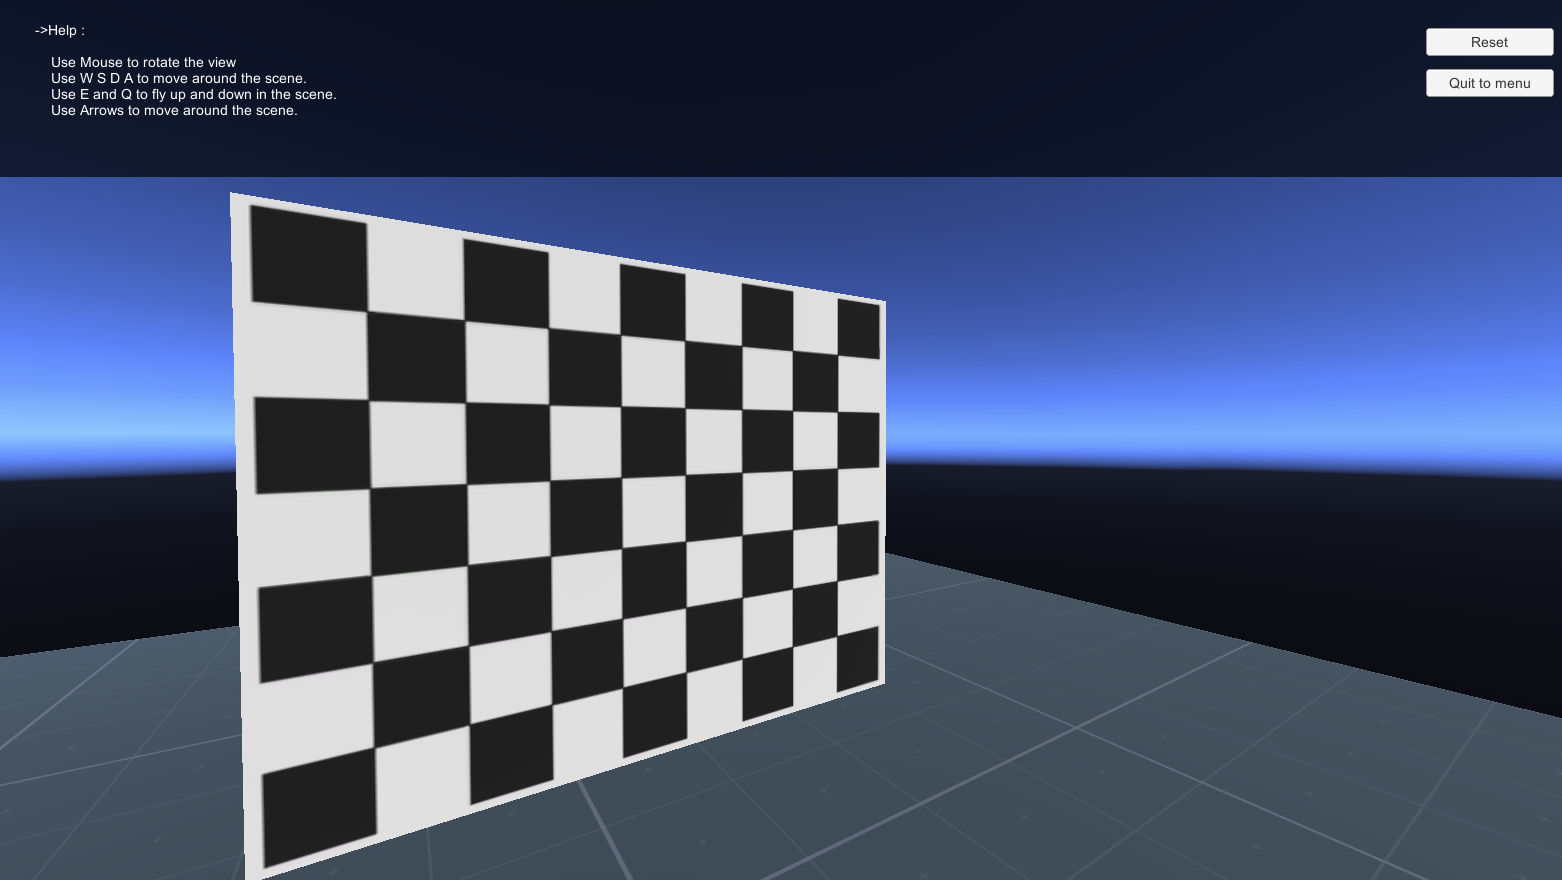
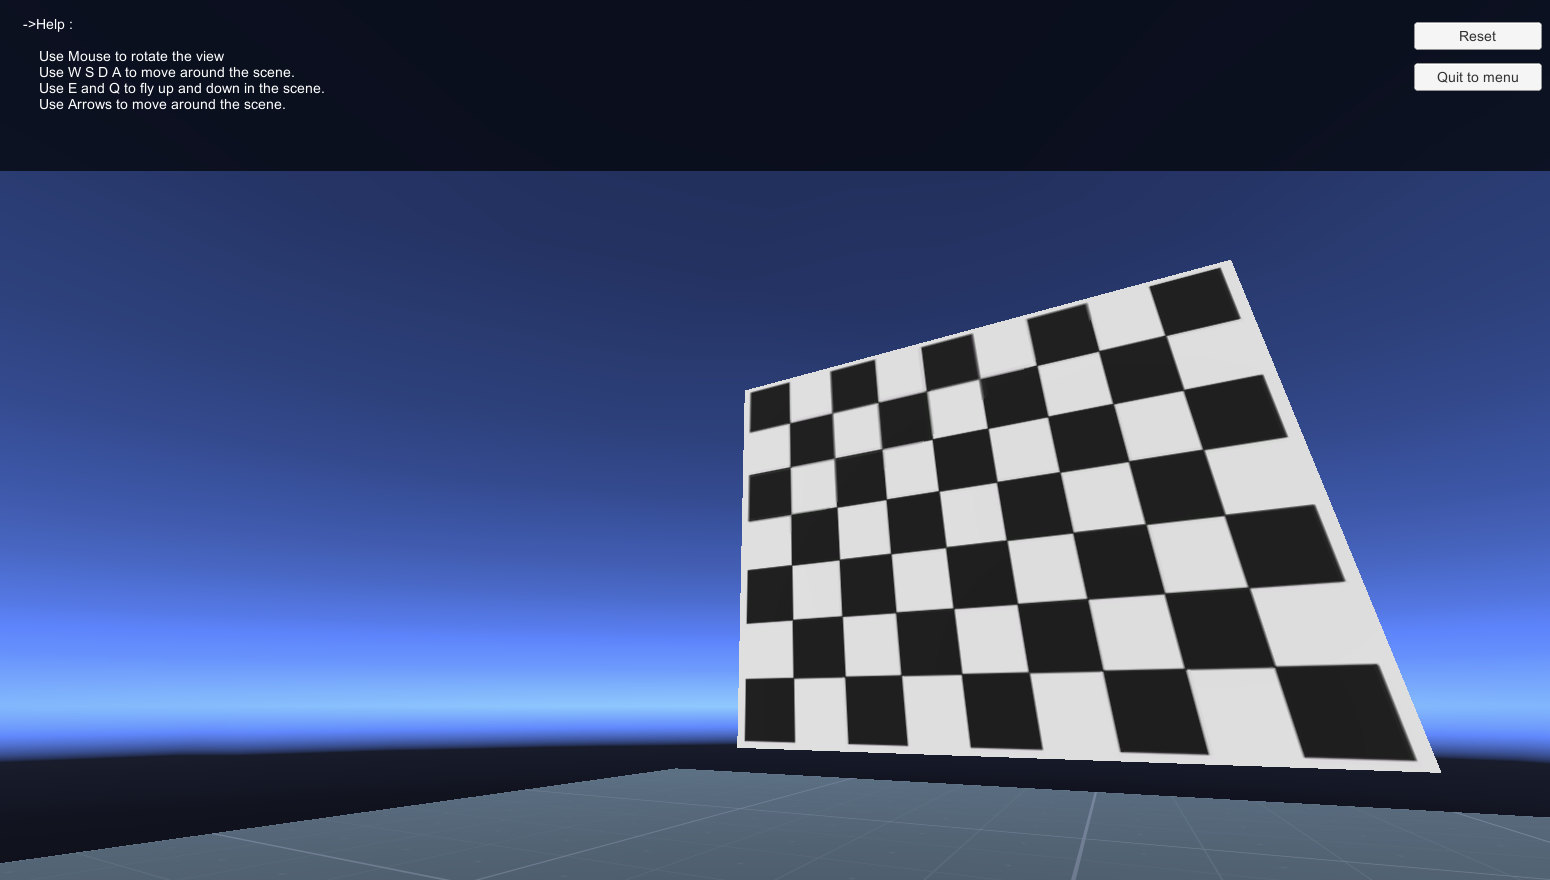
- Added Camera Calibration Checkerboard.
- Added an Urban Track.
The Simulator is accessible from AVIS Engine website.
| Simulator |
|---|
| Download Version 2.0.1 |
Open up your terminal and clone the python repository using git.
git clone https://github.com/AvisEngine/AVIS-Engine-Python-APIEverything is ready to drive your simulated car.
Install requirements using the command below
pip install -r requirements.txt
Actually the most important thing you have to install is the simulator. It's your car and you have to drive it. The simulator is the 'Server' part of the communication.
Open up the simulator and make sure it's running correctly as you run it.
- Choose a Track
- Click on "Open Info Panel"
- Type in the local ip you want the simulator to run on. (Default : 127.0.0.1)
- Type in the port you want the simulator to run on. (Default : 25001)
- Click on "Start Server"
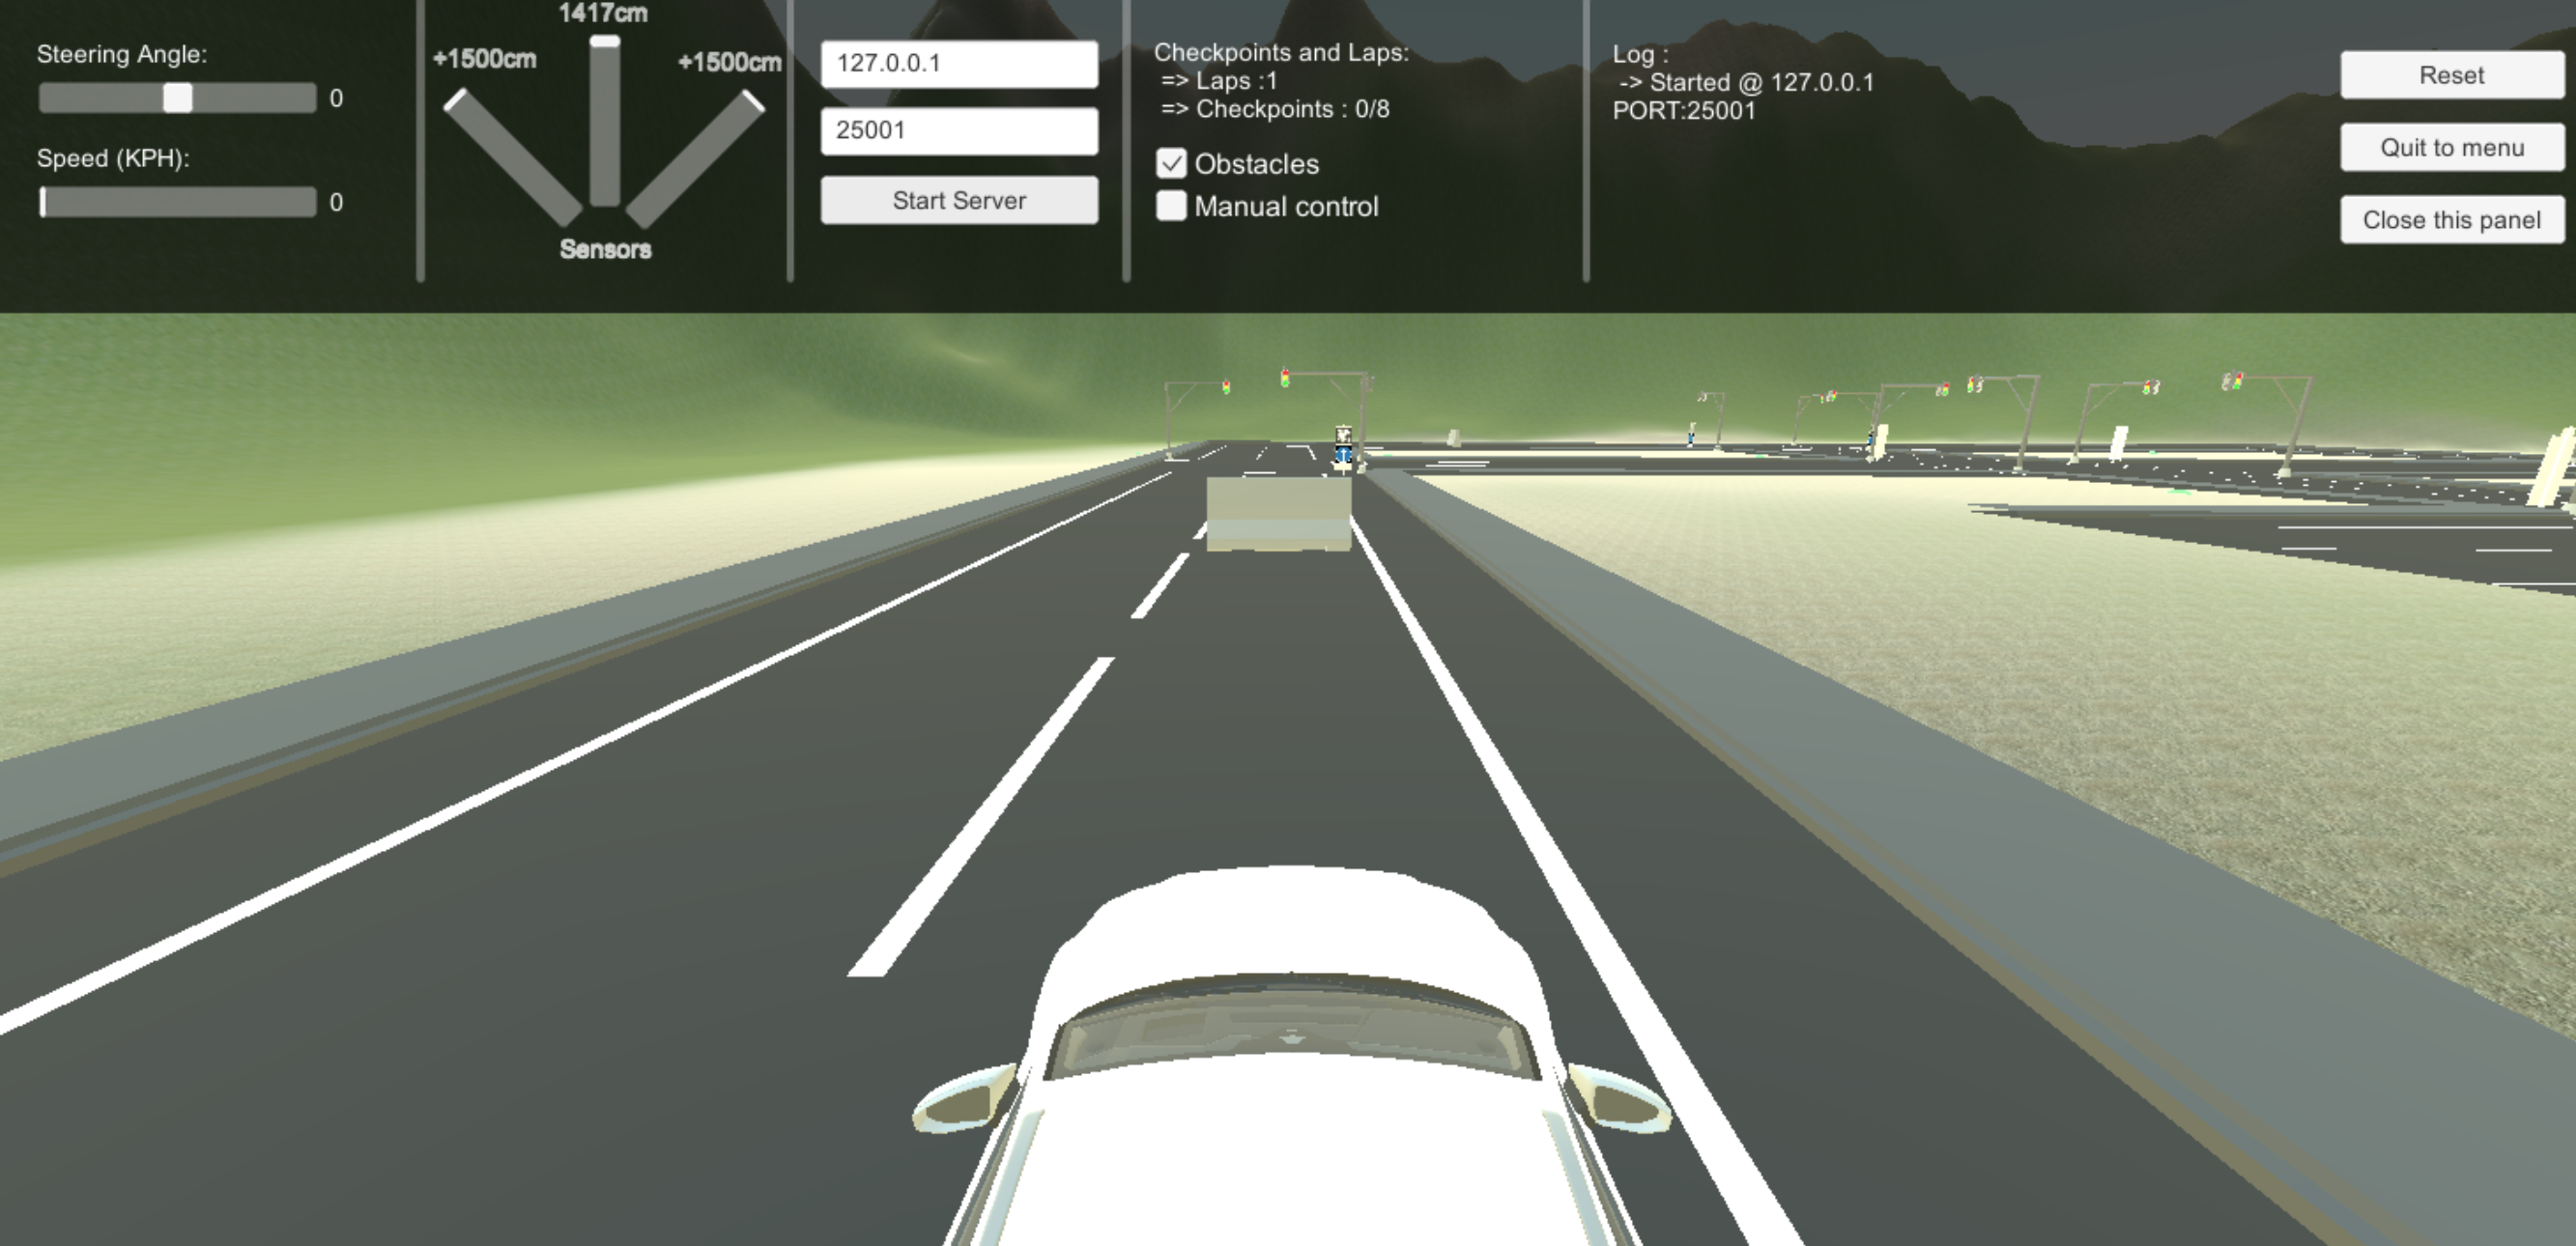
Go to the files you downloaded before. Open up example.py
'''@ 2023, Copyright AVIS Engine- An Example Compatible with AVISEngine version 2.0.1 or higher'''importavisengineimportconfigimporttimeimportcv2# Creating an instance of the Car classcar=avisengine.Car()
# Connecting to the server (Simulator)car.connect(config.SIMULATOR_IP, config.SIMULATOR_PORT)
# Counter variablecounter=0debug_mode=False# Sleep for 3 seconds to make sure that client connected to the simulator time.sleep(3)
try:
while(True):
# Counting the loopscounter=counter+1# Set the power of the engine the car to 20, Negative number for reverse move, Range [-100,100]car.setSpeed(20)
# Set the Steering of the car -10 degree from center, results the car to steer to the leftcar.setSteering(-10)
# Set the angle between sensor rays to 30 degrees, Use this only if you want to set it from python clientcar.setSensorAngle(40) # Get the data. Need to call it every time getting image and sensor datacar.getData()
# Start getting image and sensor data after 4 loopsif(counter>4):
# Returns a list with three items which the 1st one is Left sensor data\# the 2nd one is the Middle Sensor data, and the 3rd is the Right one.sensors=car.getSensors() # Returns an opencv image type array. if you use PIL you need to invert the color channels.image=car.getImage()
# Returns an integer which is the real time car speed in KMHcarSpeed=car.getSpeed()
if(debug_mode):
print(f"Speed : {carSpeed}") print(f'Left : {str(sensors[0])} | Middle : {str(sensors[1])} | Right : {str(sensors[2])}')
# Showing the opencv type imagecv2.imshow('frames', image)
ifcv2.waitKey(10) ==ord('q'):
breaktime.sleep(0.001)
finally:
car.stop()Import the AVISEngine Class
importAVISEngineCall the class
car=AVISEngine.car()Replace the server "Server IP" and "port" with yours here. and Now you're connected to the simulator.
car.connect("127.0.0.1", 25001)Set the thottle and steering of the car by adding
- Speed value Range : [-100,100] - "0 turns off the engine"
- Steering value Range : [-100,100] - "0 is Center"
# Set the speed of the car (This will not set the actual speed of the car, thus to achieve a certain speed, checking the speed feedback is required.)car.setSpeed(50)
# Set the steering of the carcar.setSteering(0)You Can get access to the data such as "Sensors", "Current Speed" and "Image" by adding these lines.
- car.getSensors() : returns a list with three items which the 1st one is Left sensor data, the 2nd one is the Middle Sensor data, and the 3rd is the Right one. the values are in cm.
- car.getImage() : returns an opencv image type array. if you are using PIL you'll need to invert the color channels.
- car.getSpeed() : returns an integer which is the real time car speed in KMH
sensors=car.getSensors() #EX) sensors[0] returns an int for left sensor data in cmimage=car.getImage()
carSpeed=car.getSpeed()
Warning "It's highly recommended to add your Algorithms to the example.py Code."
You can calibrate your camera with a Simulated Checkerboard.
| Camera Calibration Test 1 | Camera Calibration Test 2 |
|---|---|
 |  |
last update : April 3, 2023