





opencv4nodejs allows you to use the native OpenCV library in nodejs. Besides a synchronous API the package provides an asynchronous API, which allows you to build non-blocking and multithreaded computer vision tasks. opencv4nodejs supports OpenCV 3 and OpenCV 4.
The ultimate goal of this project is to provide a comprehensive collection of nodejs bindings to the API of OpenCV and the OpenCV-contrib modules. To get an overview of the currently implemented bindings, have a look at the type declarations of this package. Furthermore, contribution is highly appreciated. If you want to add missing bindings check out the contribution guide.
- Examples
- How to install
- Usage with Docker
- Usage with Electron
- Usage with NW.js
- Quick Start
- Async API
- With TypeScript
- External Memory Tracking (v4.0.0)
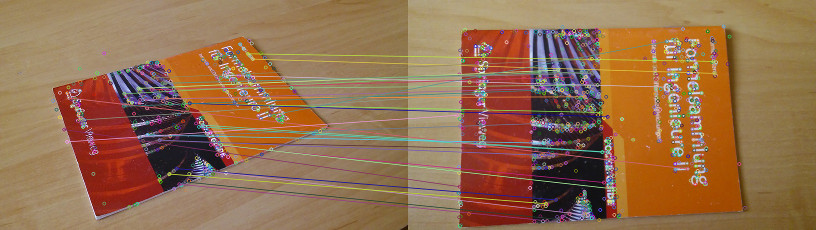
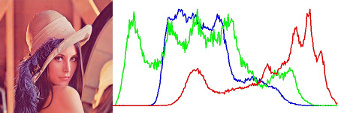
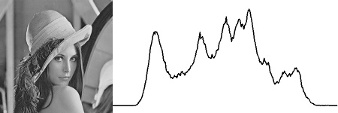
See examples for implementation.
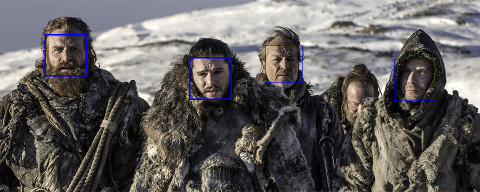
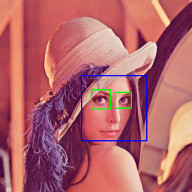
Check out Node.js + OpenCV for Face Recognition.
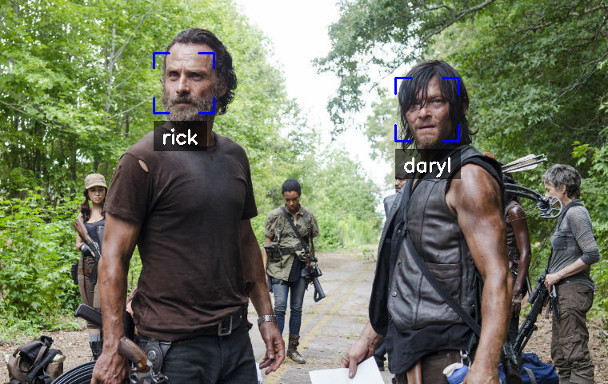
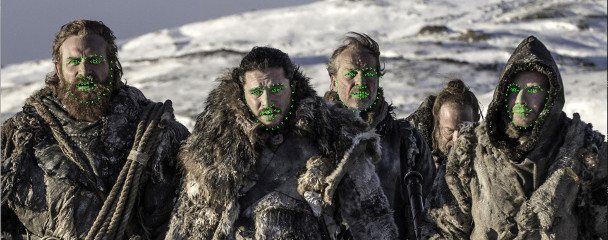
Face Recognition with face-recognition.js
Check out Node.js + face-recognition.js : Simple and Robust Face Recognition using Deep Learning.

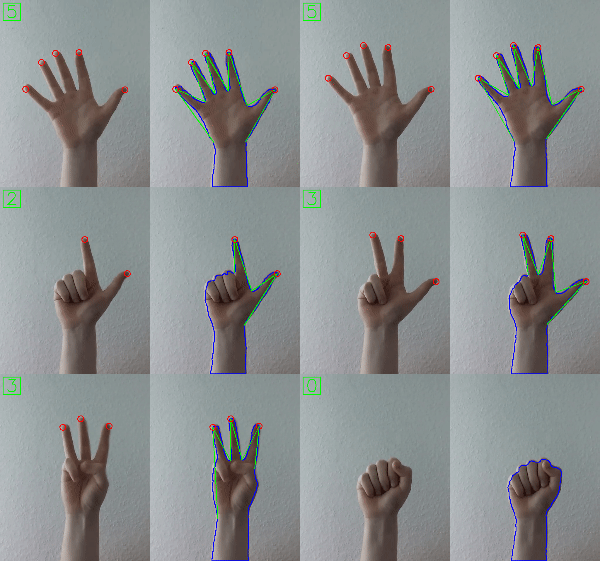
Check out Simple Hand Gesture Recognition using OpenCV and JavaScript.
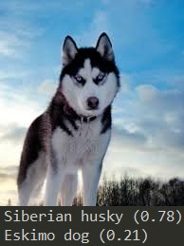
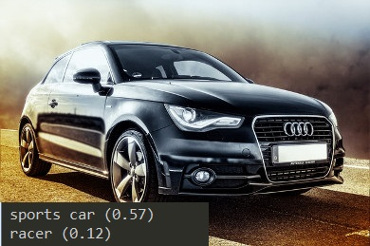
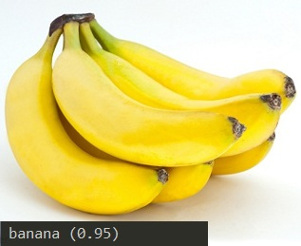
Check out Node.js meets OpenCV’s Deep Neural Networks — Fun with Tensorflow and Caffe.
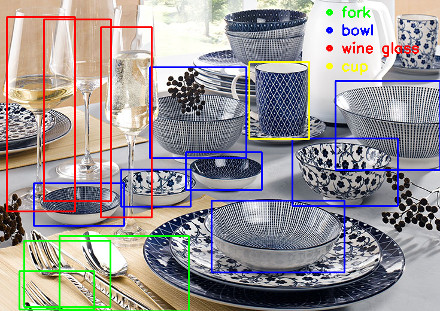
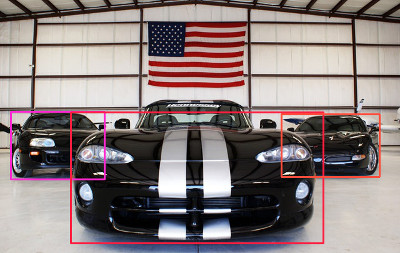
Check out Machine Learning with OpenCV and JavaScript: Recognizing Handwritten Letters using HOG and SVM.

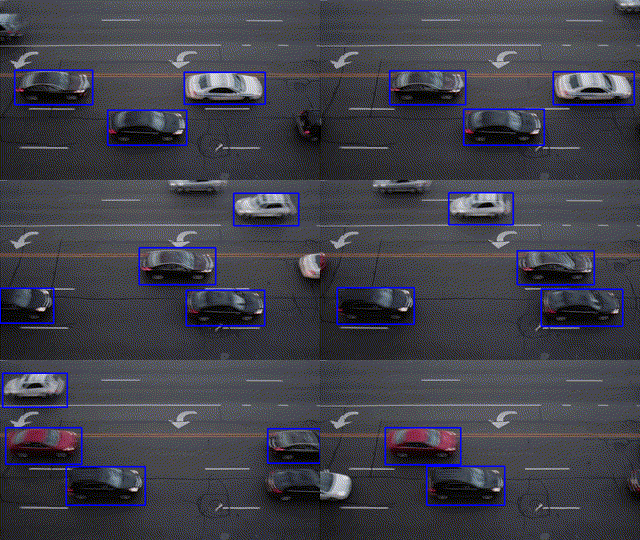
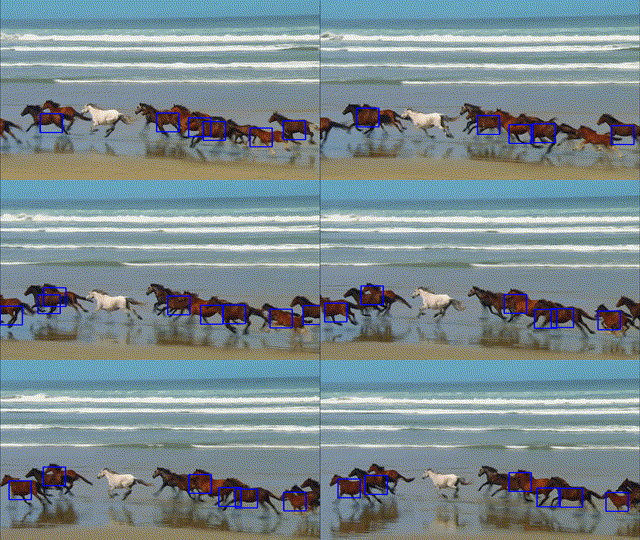
opencv4nodejs-express-websockets - Boilerplate express app for getting started on opencv with nodejs and to live stream the video through websockets.
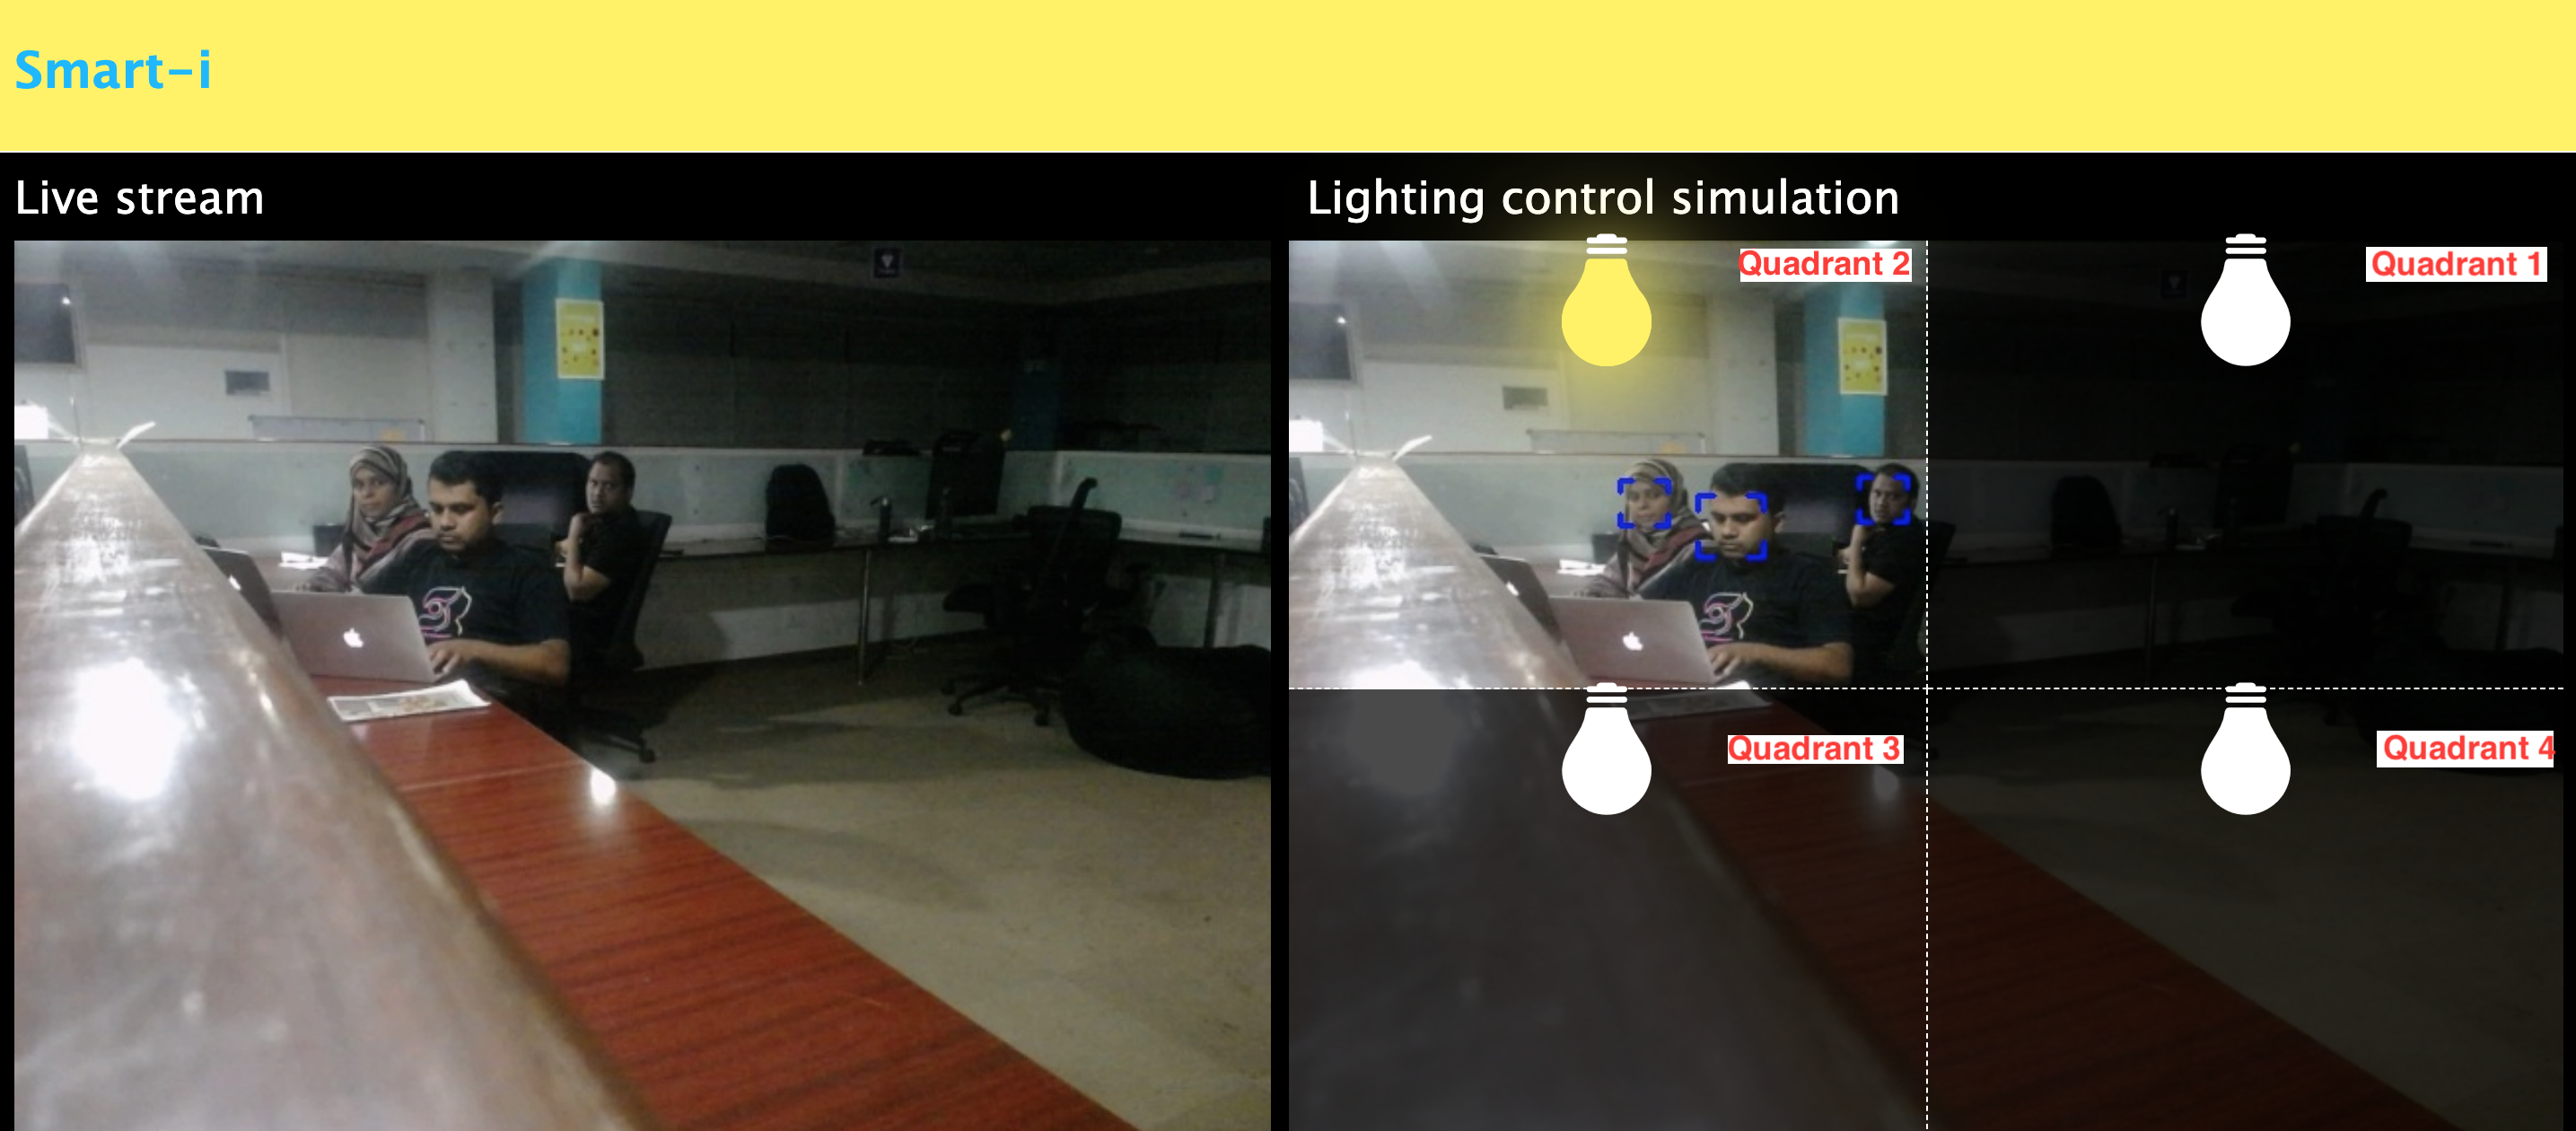
Check out Automating lights with Computer Vision & NodeJS.
npm install --save opencv4nodejsNative node modules are built via node-gyp, which already comes with npm by default. However, node-gyp requires you to have python installed. If you are running into node-gyp specific issues have a look at known issues with node-gyp first.
Important note: node-gyp won't handle whitespaces properly, thus make sure, that the path to your project directory does not contain any whitespaces. Installing opencv4nodejs under "C:\Program Files\some_dir" or similar will not work and will fail with: "fatal error C1083: Cannot open include file: 'opencv2/core.hpp'"!**
On Windows you will furthermore need Windows Build Tools to compile OpenCV and opencv4nodejs. If you don't have Visual Studio or Windows Build Tools installed, you can easily install the VS2015 build tools:
npm install --global windows-build-toolsSetting up OpenCV on your own will require you to set an environment variable to prevent the auto build script to run:
# linux and osx:export OPENCV4NODEJS_DISABLE_AUTOBUILD=1
# on windows:set OPENCV4NODEJS_DISABLE_AUTOBUILD=1You can install any of the OpenCV 3 or OpenCV 4 releases manually or via the Chocolatey package manager:
# to install OpenCV 4.1.0
choco install OpenCV -y -version 4.1.0
Note, this will come without contrib modules. To install OpenCV under windows with contrib modules you have to build the library from source or you can use the auto build script.
Before installing opencv4nodejs with an own installation of OpenCV you need to expose the following environment variables:
- OPENCV_INCLUDE_DIR pointing to the directory with the subfolder opencv2 containing the header files
- OPENCV_LIB_DIR pointing to the lib directory containing the OpenCV .lib files
Also you will need to add the OpenCV binaries to your system path:
- add an environment variable OPENCV_BIN_DIR pointing to the binary directory containing the OpenCV .dll files
- append
;%OPENCV_BIN_DIR%;to your system path variable
Note: Restart your current console session after making changes to your environment.
Under OSX we can simply install OpenCV via brew:
brew update
brew install opencv@4
brew link --force opencv@4Under Linux we have to build OpenCV from source manually or using the auto build script.
The auto build script comes in form of the opencv-build npm package, which will run by default when installing opencv4nodejs. The script requires you to have git and a recent version of cmake installed.
You can customize the autobuild flags using OPENCV4NODEJS_AUTOBUILD_FLAGS=. Flags must be space-separated.
This is an advanced customization and you should have knowledge regarding the OpenCV compilation flags. Flags added by default are listed here.
You can specify the Version of OpenCV you want to install via the script by setting an environment variable:
export OPENCV4NODEJS_AUTOBUILD_OPENCV_VERSION=4.1.0
If you only want to build a subset of the OpenCV modules you can pass the -DBUILD_LIST cmake flag via the OPENCV4NODEJS_AUTOBUILD_FLAGS environment variable. For example export OPENCV4NODEJS_AUTOBUILD_FLAGS=-DBUILD_LIST=dnn will build only modules required for dnn and reduces the size and compilation time of the OpenCV package.
It's possible to specify build environment variables by inserting them into the package.json as follows:
{
"name": "my-project",
"version": "0.0.0",
"dependencies": {
"opencv4nodejs": "^X.X.X"
},
"opencv4nodejs": {
"disableAutoBuild": 1,
"opencvIncludeDir": "C:\\tools\\opencv\\build\\include",
"opencvLibDir": "C:\\tools\\opencv\\build\\x64\\vc14\\lib",
"opencvBinDir": "C:\\tools\\opencv\\build\\x64\\vc14\\bin"
}
}
The following environment variables can be passed:
- autoBuildBuildCuda
- autoBuildFlags
- autoBuildOpencvVersion
- autoBuildWithoutContrib
- disableAutoBuild
- opencvIncludeDir
- opencvLibDir
- opencvBinDir
opencv-express - example for opencv4nodejs with express.js and docker
Or simply pull from justadudewhohacks/opencv-nodejs for opencv-3.2 + contrib-3.2 with opencv4nodejs globally installed:
FROM justadudewhohacks/opencv-nodejs
Note: The aforementioned Docker image already has opencv4nodejs installed globally. In order to prevent build errors during an npm install, your package.json should not include opencv4nodejs, and instead should include/require the global package either by requiring it by absolute path or setting the NODE_PATH environment variable to /usr/lib/node_modules in your Dockerfile and requiring the package as you normally would.
Different OpenCV 3.x base images can be found here: https://hub.docker.com/r/justadudewhohacks/.
opencv-electron - example for opencv4nodejs with electron
Add the following script to your package.json:
"electron-rebuild": "electron-rebuild -w opencv4nodejs"Run the script:
$ npm run electron-rebuildRequire it in the application:
constcv=require('opencv4nodejs');Any native modules, including opencv4nodejs, must be recompiled to be used with NW.js. Instructions on how to do this are available in the Use Native Modules section of the the NW.js documentation.
Once recompiled, the module can be installed and required as usual:
constcv=require('opencv4nodejs');constcv=require('opencv4nodejs');constrows=100;// heightconstcols=100;// width// empty MatconstemptyMat=newcv.Mat(rows,cols,cv.CV_8UC3);// fill the Mat with default valueconstwhiteMat=newcv.Mat(rows,cols,cv.CV_8UC1,255);constblueMat=newcv.Mat(rows,cols,cv.CV_8UC3,[255,0,0]);// from array (3x3 Matrix, 3 channels)constmatData=[[[255,0,0],[255,0,0],[255,0,0]],[[0,0,0],[0,0,0],[0,0,0]],[[255,0,0],[255,0,0],[255,0,0]]];constmatFromArray=newcv.Mat(matData,cv.CV_8UC3);// from node bufferconstcharData=[255,0, ...];constmatFromArray=newcv.Mat(Buffer.from(charData),rows,cols,cv.CV_8UC3);// Pointconstpt2=newcv.Point(100,100);constpt3=newcv.Point(100,100,0.5);// Vectorconstvec2=newcv.Vec(100,100);constvec3=newcv.Vec(100,100,0.5);constvec4=newcv.Vec(100,100,0.5,0.5);constmat0=newcv.Mat(...);constmat1=newcv.Mat(...);// arithmetic operations for Mats and VecsconstmatMultipliedByScalar=mat0.mul(0.5);// scalar multiplicationconstmatDividedByScalar=mat0.div(2);// scalar divisionconstmat0PlusMat1=mat0.add(mat1);// additionconstmat0MinusMat1=mat0.sub(mat1);// subtractionconstmat0MulMat1=mat0.hMul(mat1);// elementwise multiplicationconstmat0DivMat1=mat0.hDiv(mat1);// elementwise division// logical operations Mat onlyconstmat0AndMat1=mat0.and(mat1);constmat0OrMat1=mat0.or(mat1);constmat0bwAndMat1=mat0.bitwiseAnd(mat1);constmat0bwOrMat1=mat0.bitwiseOr(mat1);constmat0bwXorMat1=mat0.bitwiseXor(mat1);constmat0bwNot=mat0.bitwiseNot();constmatBGR=newcv.Mat(...,cv.CV_8UC3);constmatGray=newcv.Mat(...,cv.CV_8UC1);// get pixel value as vector or number valueconstvec3=matBGR.at(200,100);constgrayVal=matGray.at(200,100);// get raw pixel value as arrayconst[b,g,r]=matBGR.atRaw(200,100);// set single pixel valuesmatBGR.set(50,50,[255,0,0]);matBGR.set(50,50,newVec(255,0,0));matGray.set(50,50,255);// get a 25x25 sub region of the Mat at offset (50, 50)constwidth=25;constheight=25;constregion=matBGR.getRegion(newcv.Rect(50,50,width,height));// get a node buffer with raw Mat dataconstmatAsBuffer=matBGR.getData();// get entire Mat data as JS arrayconstmatAsArray=matBGR.getDataAsArray();// load image from fileconstmat=cv.imread('./path/img.jpg');cv.imreadAsync('./path/img.jpg',(err,mat)=>{
...
})// save imagecv.imwrite('./path/img.png',mat);cv.imwriteAsync('./path/img.jpg',mat,(err)=>{
...
})// show imagecv.imshow('a window name',mat);cv.waitKey();// load base64 encoded imageconstbase64text='data:image/png;base64,R0lGO..';//Base64 encoded stringconstbase64data=base64text.replace('data:image/jpeg;base64','').replace('data:image/png;base64','');//Strip image type prefixconstbuffer=Buffer.from(base64data,'base64');constimage=cv.imdecode(buffer);//Image is now represented as Mat// convert Mat to base64 encoded jpg imageconstoutBase64=cv.imencode('.jpg',croppedImage).toString('base64');// Perform base64 encodingconsthtmlImg='<img src=data:image/jpeg;base64,'+outBase64+'>';//Create insert into HTML compatible <img> tag// open capture from webcamconstdevicePort=0;constwCap=newcv.VideoCapture(devicePort);// open video captureconstvCap=newcv.VideoCapture('./path/video.mp4');// read frames from captureconstframe=vCap.read();vCap.readAsync((err,frame)=>{
...
});// loop through the captureconstdelay=10;letdone=false;while(!done){letframe=vCap.read();// loop back to start on end of stream reachedif(frame.empty){vCap.reset();frame=vCap.read();}// ...constkey=cv.waitKey(delay);done=key!==255;}constmatBGR=newcv.Mat(...,cv.CV_8UC3);// convert typesconstmatSignedInt=matBGR.convertTo(cv.CV_32SC3);constmatDoublePrecision=matBGR.convertTo(cv.CV_64FC3);// convert color spaceconstmatGray=matBGR.bgrToGray();constmatHSV=matBGR.cvtColor(cv.COLOR_BGR2HSV);constmatLab=matBGR.cvtColor(cv.COLOR_BGR2Lab);// resizeconstmatHalfSize=matBGR.rescale(0.5);constmat100x100=matBGR.resize(100,100);constmatMaxDimIs100=matBGR.resizeToMax(100);// extract channels and create Mat from channelsconst[matB,matG,matR]=matBGR.splitChannels();constmatRGB=newcv.Mat([matR,matB,matG]);constimg= ...
// convert your image to rgba color spaceconstmatRGBA=img.channels===1
? img.cvtColor(cv.COLOR_GRAY2RGBA)
: img.cvtColor(cv.COLOR_BGR2RGBA);// create new ImageData from raw mat dataconstimgData=newImageData(newUint8ClampedArray(matRGBA.getData()),img.cols,img.rows);// set canvas dimensionsconstcanvas=document.getElementById('myCanvas');canvas.height=img.rows;canvas.width=img.cols;// set image dataconstctx=canvas.getContext('2d');ctx.putImageData(imgData,0,0);OpenCV method interface from official docs or src:
voidGaussianBlur(InputArray src, OutputArray dst, Size ksize, double sigmaX, double sigmaY = 0, int borderType = BORDER_DEFAULT);translates to:
constsrc=newcv.Mat(...);// invoke with required argumentsconstdst0=src.gaussianBlur(newcv.Size(5,5),1.2);// with optional paramatersconstdst2=src.gaussianBlur(newcv.Size(5,5),1.2,0.8,cv.BORDER_REFLECT);// or pass specific optional parametersconstoptionalArgs={borderType: cv.BORDER_CONSTANT};constdst2=src.gaussianBlur(newcv.Size(5,5),1.2,optionalArgs);The async API can be consumed by passing a callback as the last argument of the function call. By default, if an async method is called without passing a callback, the function call will yield a Promise.
constclassifier=newcv.CascadeClassifier(cv.HAAR_FRONTALFACE_ALT2);// by nesting callbackscv.imreadAsync('./faceimg.jpg',(err,img)=>{if(err){returnconsole.error(err);}constgrayImg=img.bgrToGray();classifier.detectMultiScaleAsync(grayImg,(err,res)=>{if(err){returnconsole.error(err);}const{ objects, numDetections }=res;
...
});});// via Promisecv.imreadAsync('./faceimg.jpg').then(img=>img.bgrToGrayAsync().then(grayImg=>classifier.detectMultiScaleAsync(grayImg)).then((res)=>{const{ objects, numDetections }=res;
...
})).catch(err=>console.error(err));// using async awaittry{constimg=awaitcv.imreadAsync('./faceimg.jpg');constgrayImg=awaitimg.bgrToGrayAsync();const{ objects, numDetections }=awaitclassifier.detectMultiScaleAsync(grayImg);
...
}catch(err){console.error(err);}import*ascvfrom'opencv4nodejs'Check out the TypeScript examples.
Since version 4.0.0 was released, external memory tracking has been enabled by default. Simply put, the memory allocated for Matrices (cv.Mat) will be manually reported to the node process. This solves the issue of inconsistent Garbage Collection, which could have resulted in spiking memory usage of the node process eventually leading to overflowing the RAM of your system, prior to version 4.0.0.
Note, that in doubt this feature can be disabled by setting an environment variable OPENCV4NODEJS_DISABLE_EXTERNAL_MEM_TRACKING before requiring the module:
export OPENCV4NODEJS_DISABLE_EXTERNAL_MEM_TRACKING=1 // linux
set OPENCV4NODEJS_DISABLE_EXTERNAL_MEM_TRACKING=1 // windows
Or directly in your code:
process.env.OPENCV4NODEJS_DISABLE_EXTERNAL_MEM_TRACKING=1constcv=require('opencv4nodejs')