OneAll SDK provides tools to use OneAll Social Login features on Android Platform. It allows logging in users and posting messages on social networks using existing OneAll connectors. The library is integrated in a few lines of code and uses native Android integration with Facebook and Twitter where possible.
In order to run sample application, number of specific settings have to be updated in the code. Open app/src/main/res/values/strings.xml file and update the following values:
oneall_subdomain- OneAll application subdomain from your application dashboard.facebook_app_id- Facebook application ID used for authentication.fb_login_protocol_scheme- Facebook login protol scheme. generally should be in format "fb", i.e. "fb1234567890"twitter_consumer_key- Twitter application consumer key from Twitter Application Settings.twitter_consumer_secret- Twitter application consumer secrect from Twitter Application Settings.
Twitter consumer key and twitter consumer secret are optional and may be omitted if you don't want to use native Android Twitter authentication.
SDK added to the project with a few lines of code using Gradle.
After opening the project, edit build.gradle file. Add this to Module-level /app/build.gradle before dependencies:
 repositories {
mavenCentral()
maven { 'https://maven.fabric.io/public' }
}
Add the compile dependency with the latest version of the OneAll SDK in the build.gradle file:
 dependencies {
compile 'com.oneall:oneall-sdk:1.0'
}
Sync Gradle and build your project. Now you will be able to use com.oneall.OAManager in your code:
OAManager
.getInstance()
.setup(this, "demo", TWITTER_KEY_OR_NULL, TWITTER_SECRET_OR_NULL);
Of course, replace "demo" with the subdomain of your OneAll application.
This part is required in order for Facebook login to work correct. The instructions here are similar to Facebook Android Getting Started Guide .
Add your Facebook App ID to your project's strings file and update your Android manifest:
- Open
res/values/strings.xml - Add a new string with the name
facebook_app_idand value as your Facebook App ID - Open
AndroidManifest.xml - Add a uses-permission element to the manifest:
<uses-permission android:name="android.permission.INTERNET"/> - Add a meta-data element to the application element:
 <applicationandroid:label="@string/app_name" ...>
...
<meta-dataandroid:name="com.facebook.sdk.ApplicationId"android:value="@string/facebook_app_id"/>
...
</application>
Next, setup your Facebook application by creating and setting up development hash as described in "Create a Development Key Hash" and "Setting a Release Key Hash" sections of Getting Started Guide
Open the activity class that will use OneAll integration. Add the following into onCreate
importcom.oneall.oneallsdk.OAManager;
importcom.oneall.oneallsdk.rest.models.User;
importcom.oneall.oneallsdk.OAError;
@OverrideprotectedvoidonCreate(BundlesavedInstanceState) {
super.onCreate(savedInstanceState);
// Your initialization codeOAManager
.getInstance()
.setup(this, "demo", TWITTER_KEY_OR_NULL, TWITTER_SECRET_OR_NULL);
OAManager.getInstance().onCreate(this, savedInstanceState);
}
This will initialize OneAll module and set it up with your subdomain settings.
Now, pass all activity creation events to the manager:
@OverrideprotectedvoidonResume() {
super.onResume();
OAManager.getInstance().onResume();
}
@OverrideprotectedvoidonPostResume() {
super.onPostResume();
OAManager.getInstance().onPostResume(this);
}
@OverrideprotectedvoidonPause() {
super.onPause();
OAManager.getInstance().onPause();
}
@OverrideprotectedvoidonDestroy() {
super.onDestroy();
OAManager.getInstance().onDestroy();
}
@OverrideprotectedvoidonSaveInstanceState(BundleoutState) {
super.onSaveInstanceState(outState);
OAManager.getInstance().onSaveInstanceState(outState);
}
protectedvoidonActivityResult(intrequestCode, intresultCode, Intentdata) {
super.onActivityResult(requestCode, resultCode, data);
OAManager.getInstance().onActivityResult(requestCode, resultCode, data);
}
Next, use the manager to login into OneAll:
OAManager.getInstance().login(this, newOAManager.LoginHandler() {
@OverridepublicvoidloginSuccess(Useruser, BooleannewUser) {
Log.v("tag", String.format("OA user %s", user.identity.name.formatted));
}
@OverridepublicvoidloginFailure(OAErrorerror) {
Log.v("tag", String.format("Failed to login into OA: %s", error.getMessage()));
}
});
The SDK will show selector of platforms configured for specified OneAll subdomain:
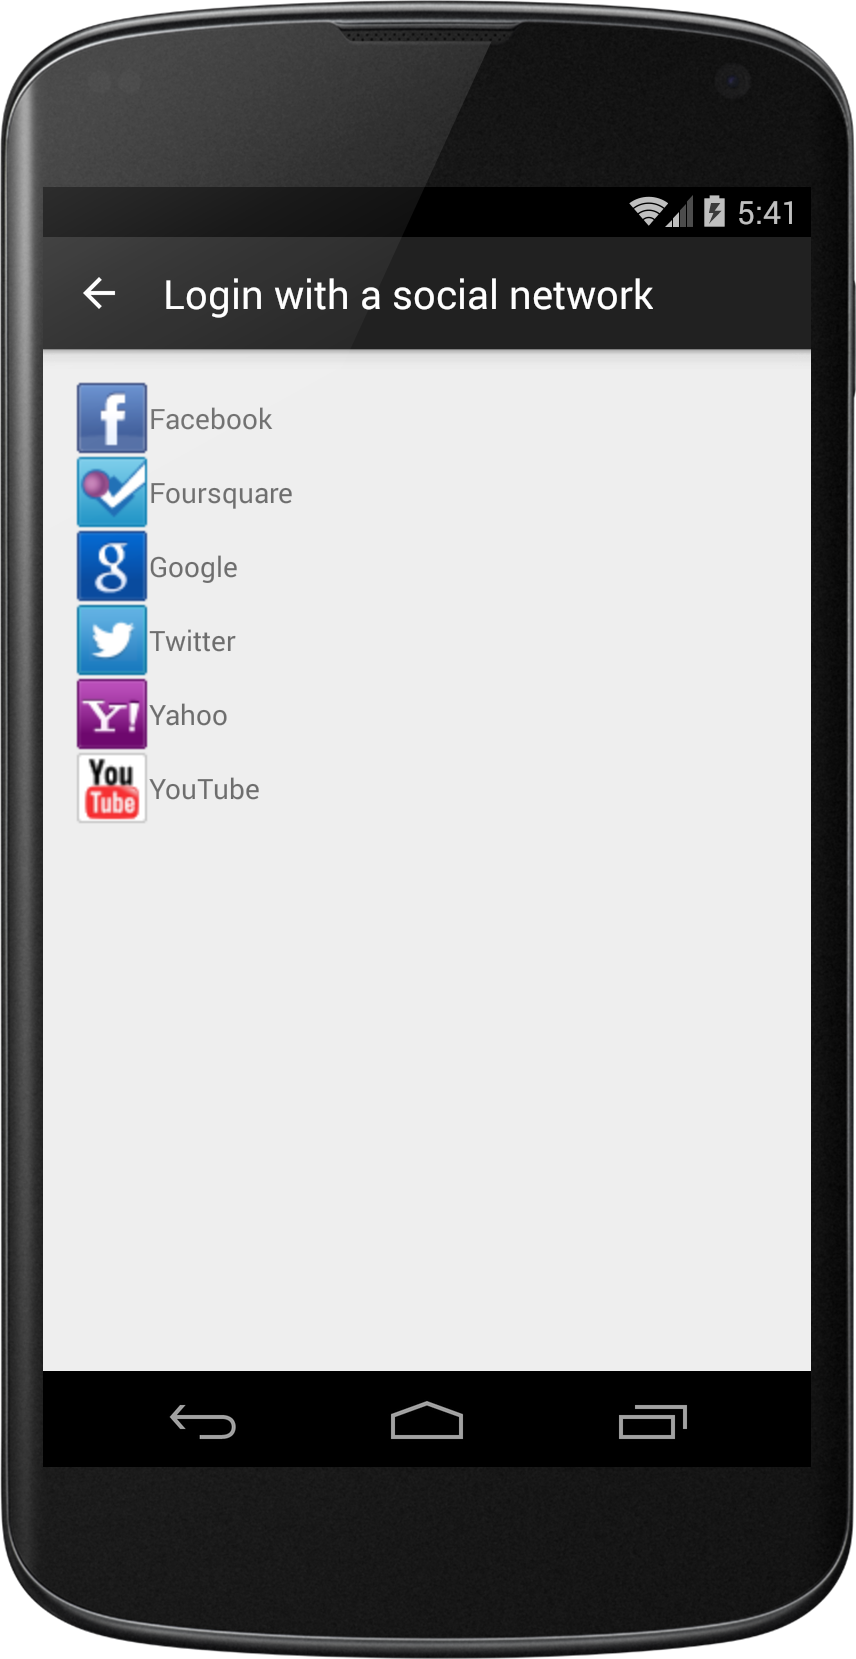
You can use your own native design and login without activating the selector:
OAManager.getInstance().login(this, "facebook", loginHandler);
In order to post message OAManager provides postMessage method:
publicvoidpostMessage(
Stringtext,
StringpictureUrl,
StringvideoUrl,
StringlinkUrl,
StringlinkName,
StringlinkCaption,
StringlinkDescription,
BooleanenableTracking,
StringuserToken,
StringpublishToken,
finalCollection<String> providers,
finalOAManagerPostHandlerhandler)
Example usage:
OAManager.getInstance().postMessage(
"Me and the elephant",
"[](https://drscdn.500px.org/photo/57410272/m%3D2048/9e1b37755cc09022b7eb0993379cc6f6)https://drscdn.500px.org/photo/57410272/m%3D2048/9e1b37755cc09022b7eb0993379cc6f6",
null,
null,
null,
null,
null,
true,
user.userToken,
user.publishToken.key,
newstring[] { "facebook" },
newOAManager.OAManagerPostHandler() {
@OverridepublicvoidpostComplete(Booleansuccess, PostMessageResponseresponse) {
if (success) {
Log.v("posted message to user wall");
} else {
Log.v("failed to post message to user wall");
}
}
}
);
Where user object is the same user object that was received via callback on user authentication earlier in the process. This object implements Serializable interface and can be serialized and cached between session to avoid repeated logins on every application run.